
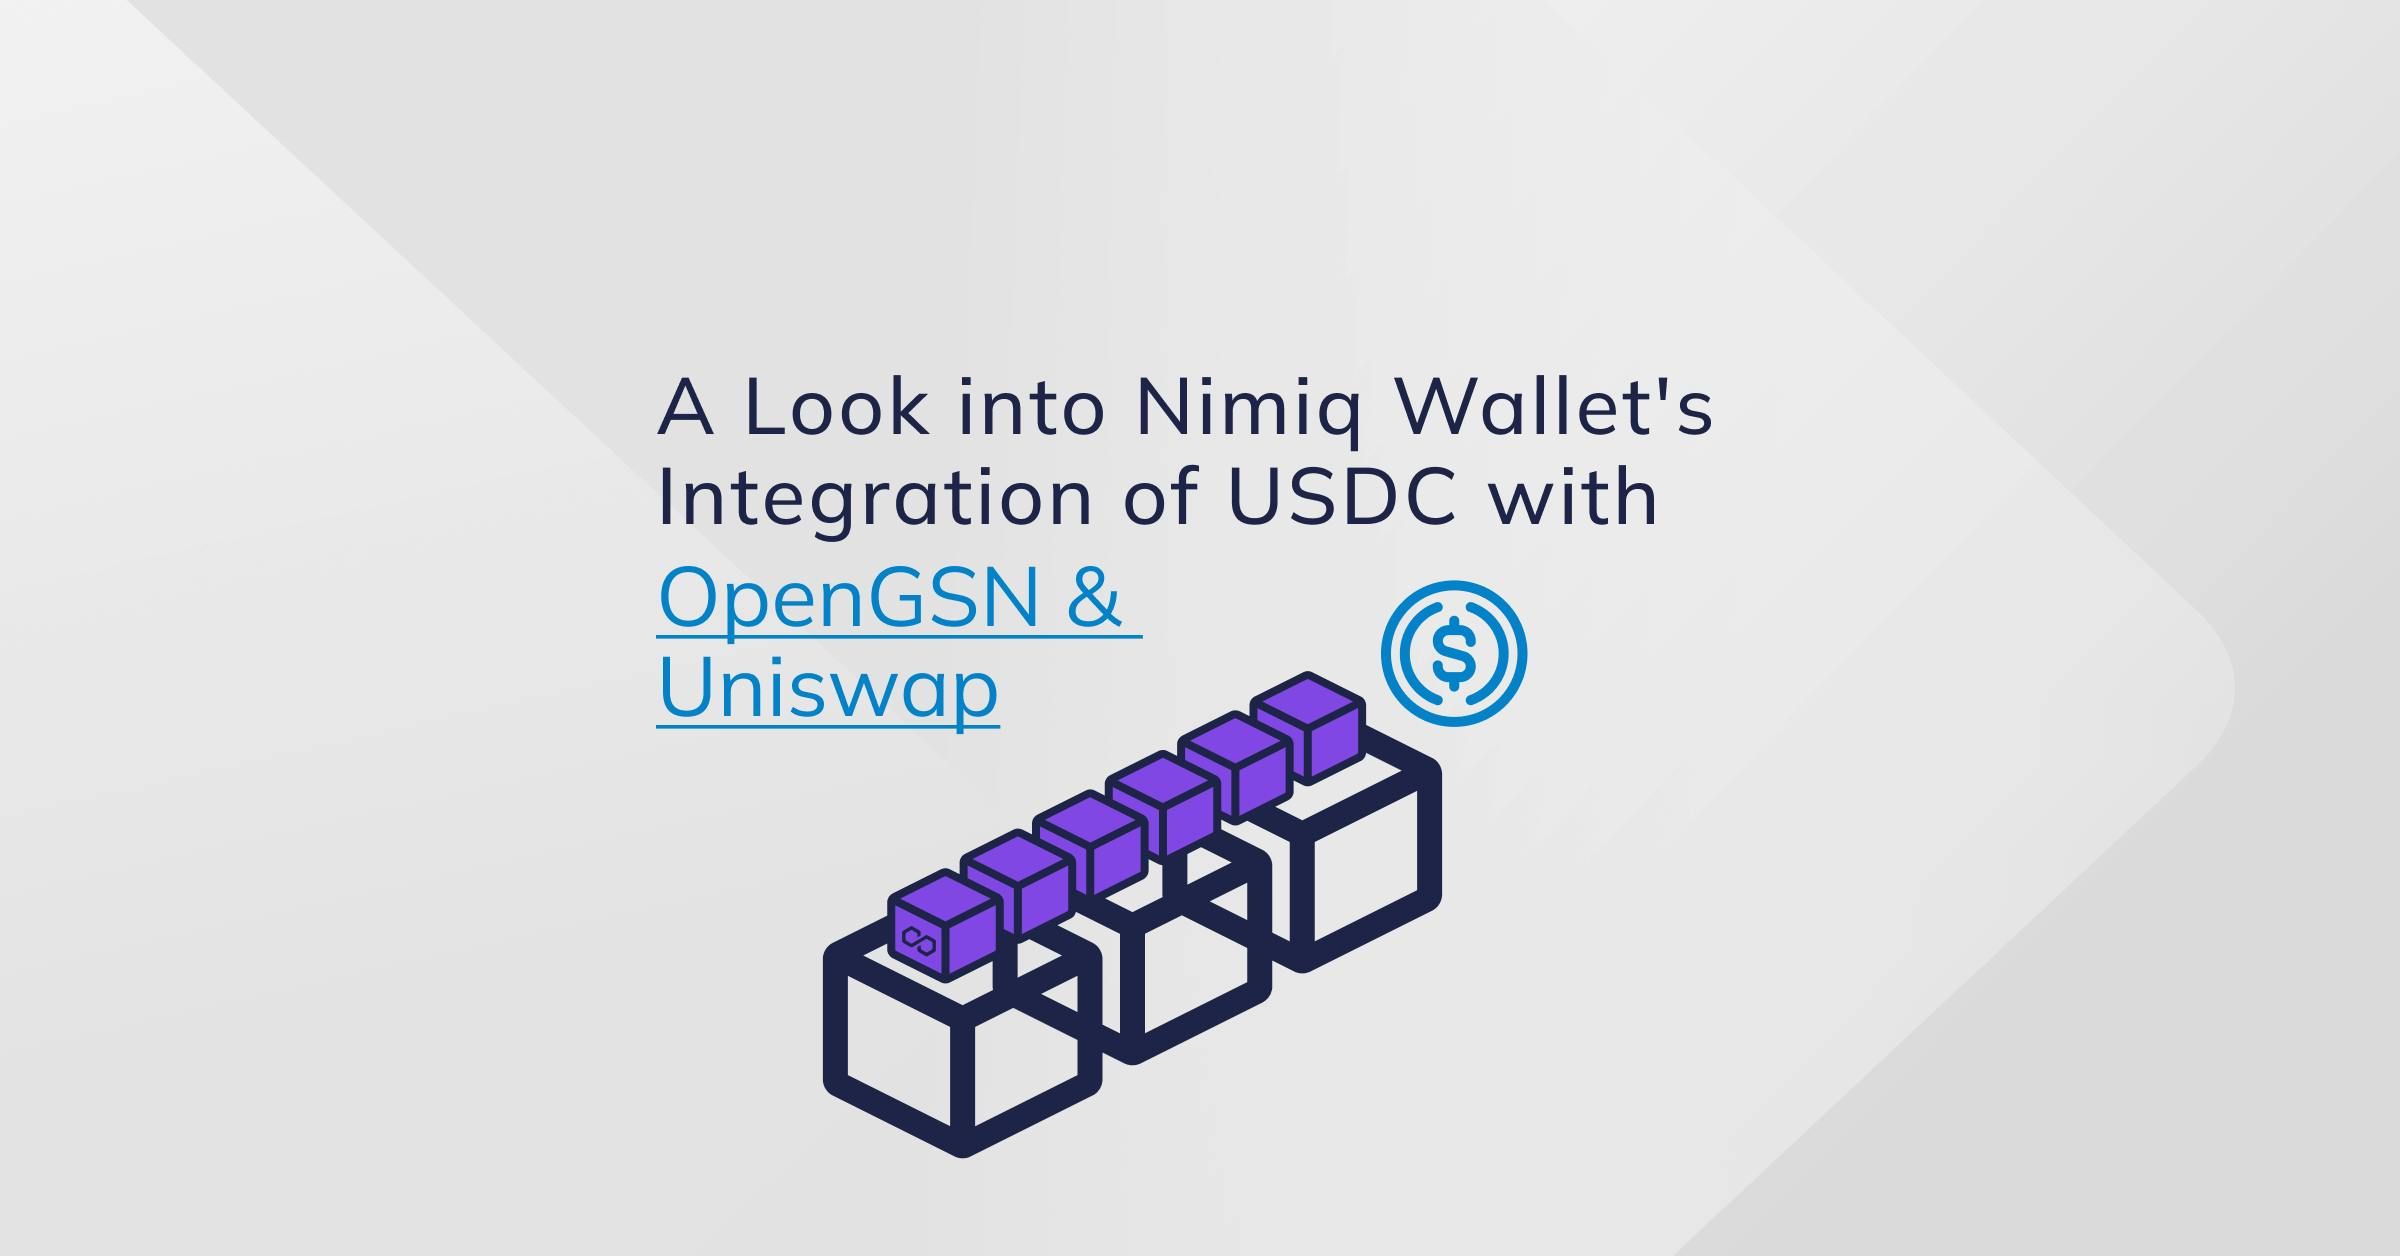
The Nimiq Wallet now supports USDC, a stablecoin pegged to the US Dollar, allowing users to send it with fee abstraction fees. The wallet uses USDC on Polygon, a scaling solution for Ethereum, for fast and cheap transactions. By processing transactions off-chain before anchoring them to Ethereum's blockchain, Polygon offers the benefits of Ethereum's security and decentralization while reducing fees and transaction times.
Sending USDC usually requires MATIC, the native token of the Polygon blockchain, to cover transaction fees. To simplify this process, Nimiq’s USDC Transfer Smart Contract automatically converts a small portion of USDC into MATIC to pay for these fees, making it hassle-free for users. This way, users can enjoy the advantages of USDC without the inconvenience of managing a second token themselves.
In this post, we'll take a detailed technical look at how the Nimiq Wallet's USDC integration works, using the power of the Polygon network and an innovative solution for handling transaction fees. For a visual representation of the steps involved, check out our comprehensive diagram with annotations, available here.
The Nimiq Wallet's USDC integration offers a perfect balance of functionality, security, and user convenience. With this solution, you can experience the future of cryptocurrency transactions today. So, grab a cup of coffee and join us for a deep dive into the inner workings of this innovative integration.
The Journey: A Step-by-Step Look at Sending USDC with Nimiq Wallet
Step 1: Selecting the recipient and amount
First, you select the recipient and the desired amount of USDC to send. Our system then converts the amount into the smallest unit of USDC, ensuring accurate transactions by taking into account the divisibility of cryptocurrencies.
Step 2: Calculate the fee
Next, we display the transaction fee, which consists of:
- Native transaction fee: Calculated by multiplying the gas limit (aka in the OpenGSN Contract) by the gas price (given by the network and the OpenGSN Relay). Amount is in MATIC.
requiredRelayGas - OpenGSN fee: Allows the wallet to send transactions on behalf of the user using a Relay Server. Calculated as follows:To reduce the fee as much as possible, the Nimiq Wallet scouts different relay servers and selects the one with the lowest fees. We do this by retrieving and filtering the logs from
nativeFee * (1 + pctRelayFee) + baseRelayFee
event in the Relayer Hub Contract. Amount is in MATIC.RelayServerRegistered - Uniswap fee: Fee for exchanging USDC to MATIC to pay the OpenGSN Relay. Paid in USDC. We cannot determine the exact amount of the fee in advance, so we use a 10% buffer as a fee. You can read more about this in step 7.
We calculate the transaction fees, convert them to USDC using the MATIC-USDC exchange rate on Uniswap, and display the fee to the user prior to the transaction. The fee potentially changes with every Polygon block, so we update it regularly until the user confirms the transaction. The final fee includes an additional 10% buffer for Uniswap, which is refunded if not used.
To calculate the fees, we use the Quoter Contract and Uniswap pool registered in the USDC Transfer Contract.
The fee does not depend on the amount sent, so sending 1 USDC will have the same fee as sending 1,000,000 USDC. You can view the code for the function that computes the fees here.
Step 3: The user creates the request
In the Nimiq Wallet, after the user confirms the transaction details, the next step is to sign it using the Nimiq Keyguard. The Keyguard acts as an intermediary between the wallet and the user's key pair, ensuring that the wallet cannot access the user's keys directly. This process is the same whether the user wants to send NIM, BTC, or USDC.
Authorise USDC
To transfer funds from their wallet to another wallet, the user needs to unlock their key pair with their password in the Keyguard and sign an authorization. The authorization only allows the transfer within the USDC contract on behalf of the user, but it's not the actual transfer. To create this authorization, the USDC contract requires a structured signature from the user, which is created by the Keyguard using the EIP712 standard. This standard is widely used for structuring data in Ethereum Smart Contracts and includes a domain separator, a message type, and a set of message parameters. It verifies the authenticity of the data and the signer's identity.
The EIP712 signature approves the transfer of funds by signing a JSON object containing the total amount, which includes the transaction amount and fee. This authorizes the transfer of funds from one wallet to another by the transfer contract. You can find the code for signing the approval here.
Open Gas Station Network v2 (OpenGSN)
To transfer funds using the OpenGSN protocol, we must pay a fee for using a special message called a meta-transaction. This message allows us to send a request to the relay server, which then sends the transaction for us. The user creates a message with transaction information (including the USDC approval signed above) and sends it to the relay server. Because the relay ultimately sends the transaction, this avoids the need for MATIC for gas in the user’s wallet.
The meta-transaction request contains an encoded function call called
transferWithApprovalStep 4: Sending the meta-transaction
The wallet sends the meta-transaction to the relay server via an HTTPS request containing a specific body that includes the meta-transaction,as well as other relay-specific information required by OpenGSN.
The code used to send the meta-transaction can be found here.
transferWithApproval function on the Transfer USDC Contract, which acts as another layer of the doll. This function call in turn contains the necessary parameters to transfer, along with the signature that verifies the user's authorisation.On the network side, first the relay server unpacks the outermost layer and creates a transaction from its contents that interacts with the Transfer USDC Contract. The contract further unpacks the second layer, revealing the third layer, which contains the transfer amount and recipient, the arguments for the authorization function in the USDC contract, and the exchange from USDC to MATIC.
Step 5: Checking requirements
transferWithApproval function in the Transfer USDC Contract. Before triggering the transfer, we need to check a few things to ensure that it goes through:- Check that the token address exists.
- Check that the user has enough USDC for the amount and fee.
- Check that the smart contract is given permission on behalf of the user to transfer tokens.
- Check that the permission amount given is enough.
If any requirements are not fulfilled, the smart contract won't proceed with the transaction. You can find the smart contract code here.
Step 6: Approve the transfer
The USDC token is a form of digital currency that operates on the Ethereum blockchain. It follows the ERC-20 standard, which outlines the rules for how the token can be moved and stored. To move USDC, we must use a secure method known as the ERC-20 approval method. This method enables someone else to move tokens on our behalf, but only with our “approval”.
Step 7: Swapping USDC to MATIC
ExactOutputSingleParams function on the UniSwap Smart Contract with the following parameters::- : Smart Contract address of USDC.
tokenIn - : Smart Contract address of WMATIC, a 1:1 MATIC-pegged token that provides compatibility with the Ethereum virtual machine and standardisation with other ERC-20 tokens. It allows users to take advantage of decentralised EVM-based trading, DeFi protocols and applications.
tokenOut - : The pool fee. This is a static number inherent to the pool.
fee - : Address of the Transfer Contract.
recipient - : The amount in MATIC to be paid for the OpenGSN and Polygon network fees.
amountOut - : The maximum amount of input tokens a user is willing to spend on a trade. In our case, this value is equal to the fee calculated in step 2.
amountInMaximum
Unlike traditional exchanges, UniSwap V3 does not allow for pre-calculated exchange rates. The wallet retrieves the spot-exchange rate between USDC and MATIC (WMATIC) at the time of fee estimation, but it can fluctuate rapidly due to other transactions until the transfer is made. To account for this, a 10% buffer is added to the exchange rate received in step #2. On the Mumbai Testnet network, this buffer is adjusted to 25% due to low liquidity and thus higher volatility. However, any unused buffer is refunded to the user, which is why you usually see the final fee to be lower than what was estimated.
Step 8: Make the transfers
transferFrom function on the USDC contract, as we have previously obtained the necessary approval authorization. Secondly, the Transfer Contract unwrapps the swapped WMATIC and sends them to the OpenGSN Relay Hub to cover the cost of the native transaction fee and the fee charged by the relay.Step 9: Confirming the transaction
In step #4, the wallet sent an HTTPS request to a relay server with a meta-transaction. Now, the wallet checks transaction logs to confirm the transfer.
In our scenario, the relayer sends the transaction. Unlike Nimiq and Bitcoin, EVMs allow multiple token transfers in one transaction. The transaction object holds log records and shows the transaction's activity. We look for the "transfer" log which includes the user’s address as the sender, the targeted recipient, and the amount that was sent. The wallet parses these logs and restructures them into the transaction object which is then displayed in the transaction list.
Wrapping it up
In conclusion, we hope that this technical blog post has provided you with a clearer understanding of how Nimiq's implementation of USDC on Polygon with Gas Abstraction works. By leveraging the advantages of the Polygon network, OpenGSN, and Uniswap, Nimiq has successfully created a user-friendly and efficient solution for sending USDC without the need for users to manage MATIC themselves.
For more insights into the technical aspects of this integration and to engage with a community of like-minded enthusiasts, be sure to join our Telegram group. Our team and fellow community members are always ready to discuss cutting-edge technologies, share insights, and address any questions you may have. Together, we can continue to advance the world of cryptocurrencies and make them more accessible to everyone.
Pura Vida
Team Nimiq